Teaching a Position
Teaching the robot a position is a common task that generally involves putting the robot in the desired position and then recording the position for later use.
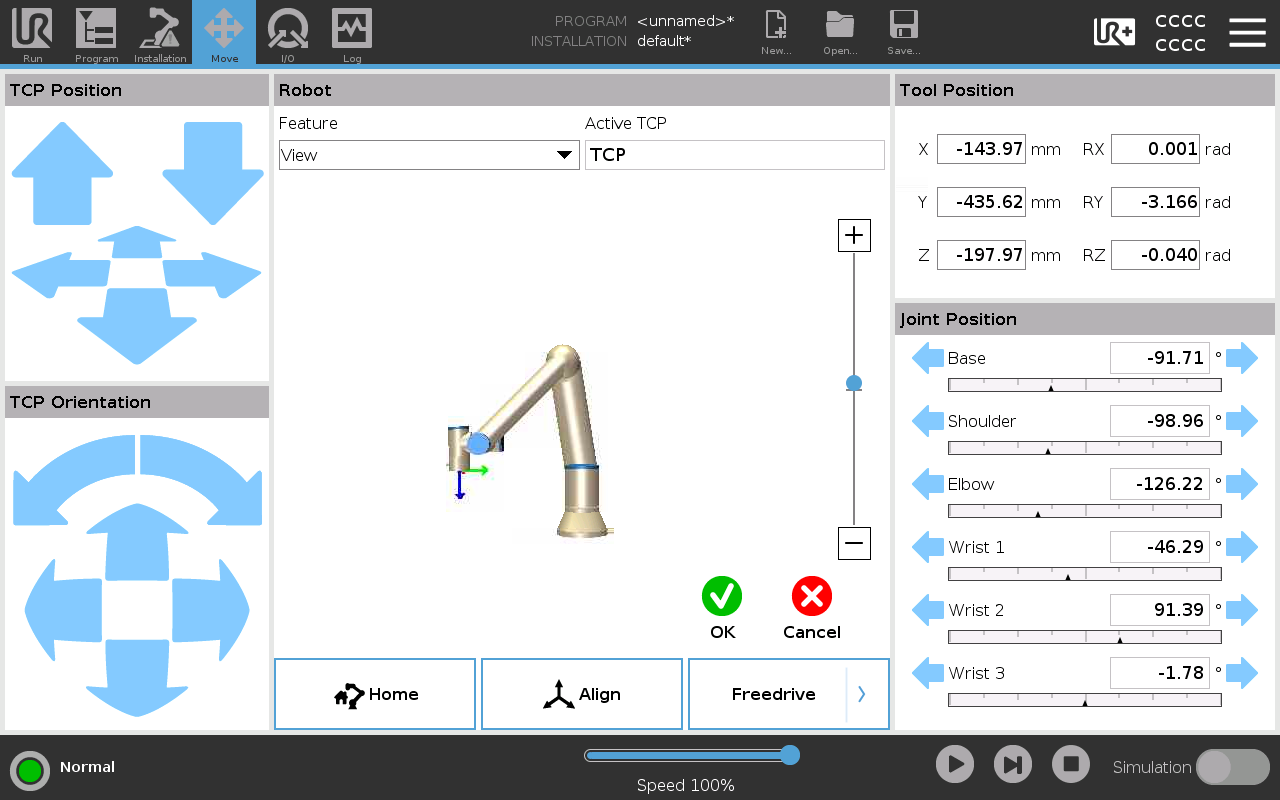
Teaching a position
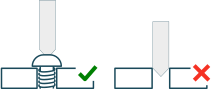
Teaching the position of a screw. The position is always taught with the Teach Pointer in the screw head, and not the hole. The screw must driven all the way down.
Press the teach button in the program node that you want to teach the position in.
Insert the Teach Pointer into the tool. See Manual Bit Changing.
Move the robot to the desired position. This is typically done in freedrive mode by holding the Freedrive button on the back of the tool.
Now you should align the robot to the z-axis, or teach the position as is.
Press OK.
Note
It is possible to move the robot into the desired position by using the Jog buttons on the robot. However, when the Teach Pointer meets the surface, make sure that the tool is not pushed upwards and away from it’s resting position in the safety rail slider on the back of the tool. It is a common mistake to teach the robot a false position because the tool is not in it’s resting position.