Screw Feeder
Before you can pick up screws with the Load screw program node, you must first set up a screw feeder.
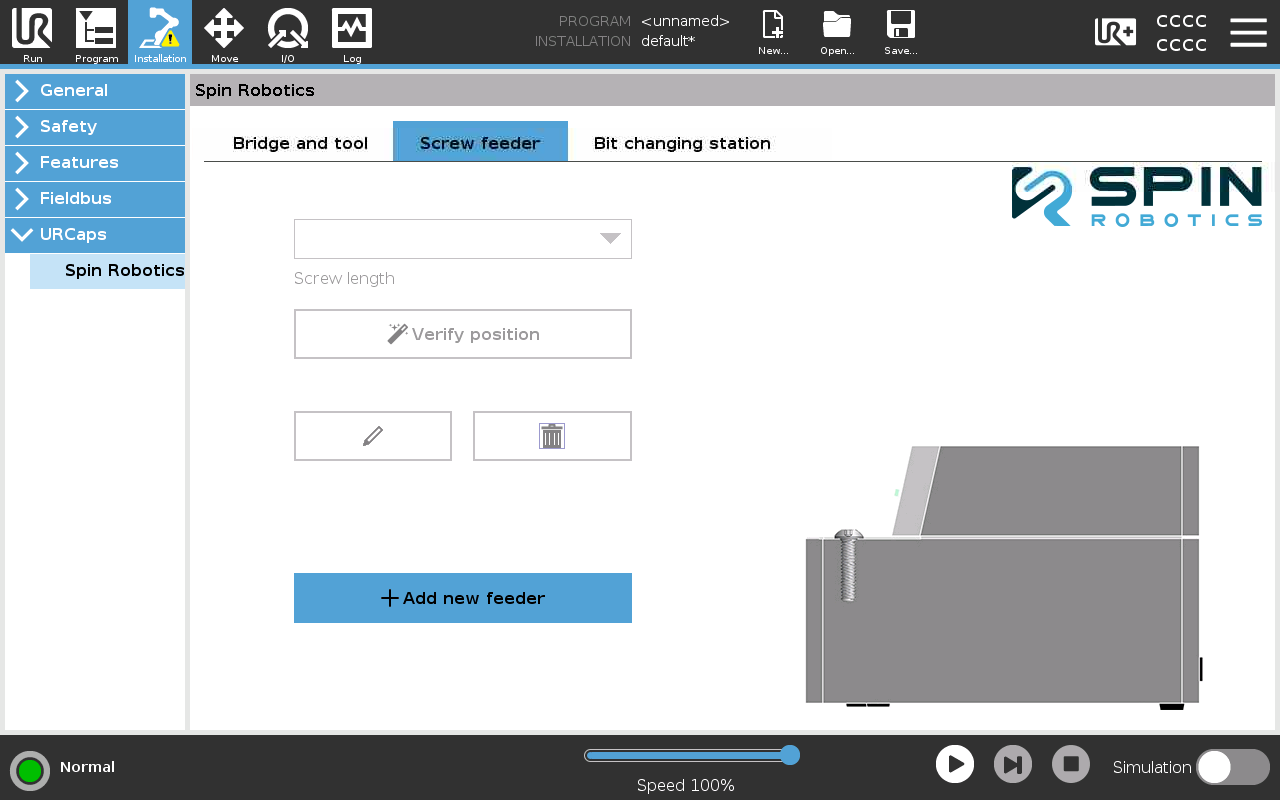
Installation of a Screw feeder 1.
Select Installation/URCaps/Spin Robotics/Screw feeder.
Press +Add new feeder.
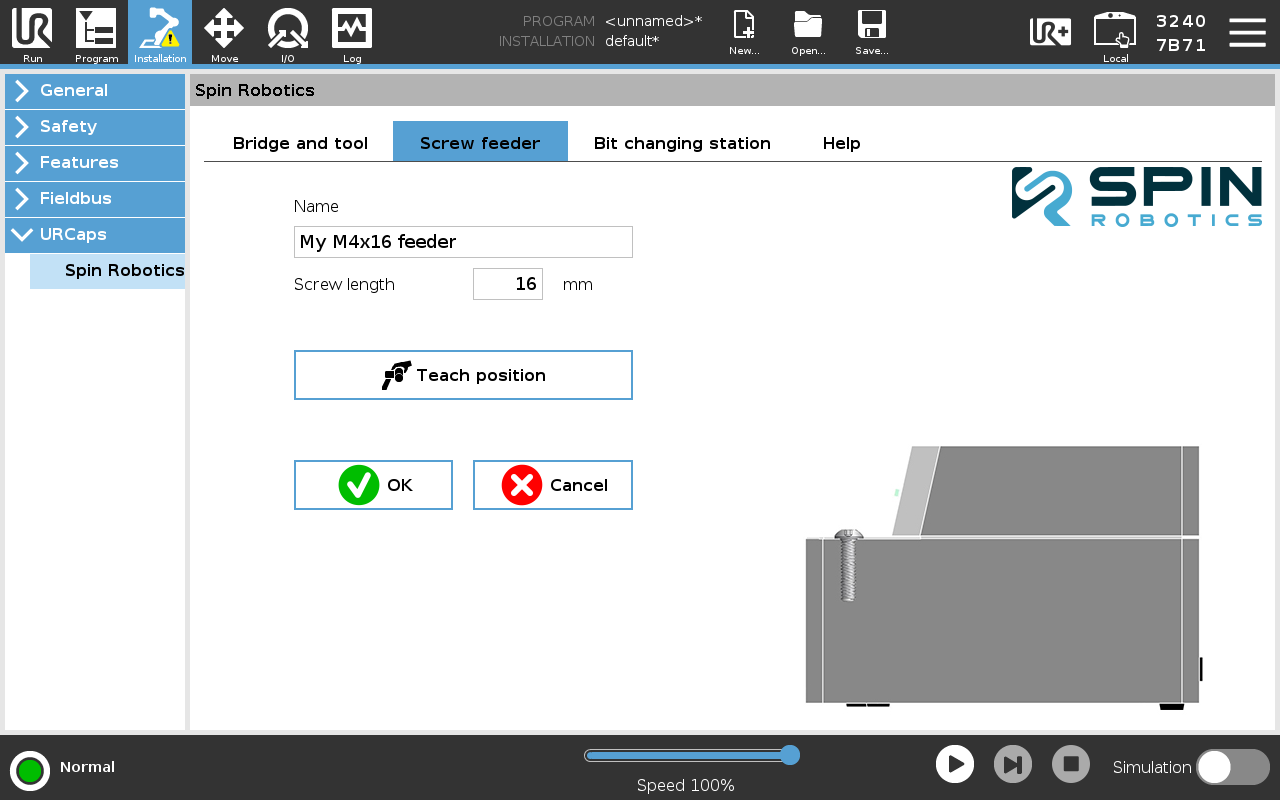
Installation of a Screw feeder 2.
Enter a name for the Screw feeder.
Enter the screw length.
Teach the position of the screw in the screw feeder by pressing Teach position. See Teaching a Position.
Press OK.
You can make the robot move the tool into the screw by pressing Verify position.
Note
When teaching the screw position, make sure that the screw is presented by the feeder in the same position as it will be when it is picked up by the robot. This screw position is the most important position to teach precisely to ensure that the robot picks up the screw correctly and consistently.
Note
If you experience that the screw is not picked up correctly at high speeds, make sure that the pick-up movement is straight up and down when moving fast. This can be verifyed by recording a video of the robot picking up the screw and playing it in slow motion. If the movement is not straight up and down, retach the screw position and make sure that the robot is not “leaning” on the screw.
You can add as many screw feeders as you want. You can edit or delete a screw feeder by selecting it from the drop down list